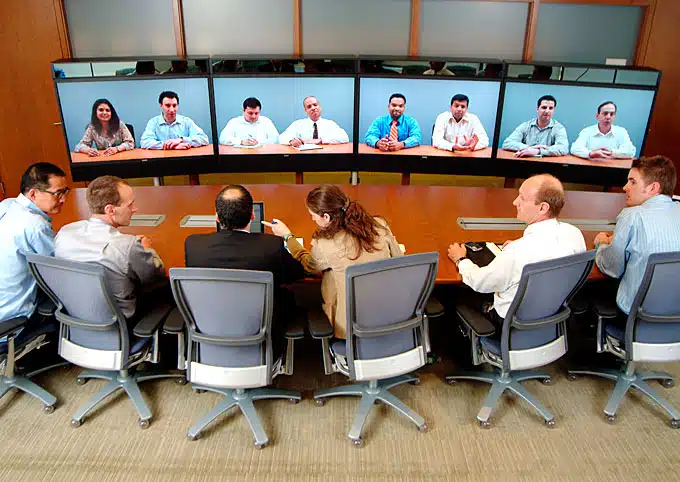
Video conferencing has become much more straightforward than it was in the not-so-distant past, but there are still technical aspects to a video conferencing call that can cause confusion and issues with a meeting.
Typically, the more advanced your video conferencing setup, the more qualitative your end picture and audio will be – at the price of being harder to deal with.
Essential Pre-Call To-Do List
Before you start a call, you need to ensure a few technical to-dos and potential don’ts are out of the way. Preparation and prevention is the best cure for many a tech problem, and often, your issue can be fixed with a few seconds of clicking the right things or positioning something properly. Regarding video output specifically, here are a couple tips and tricks you should keep in mind before you even hit that call button and begin your conference:
- Check your video settings
This should most definitely be step one, because it’s the easiest thing to verify. On a computer, many different video calling solutions offer you the option to launch a test call and view yourself in the supplied output video feed. Alternatively, the settings menu for all video calling software provides you with a selection for what device to utilize as a camera, and settings for video quality ranging from editing the color and saturation of your output, to other settings. As per Entrepreneur, video settings can make all the difference – it can be embarrassing to realize only two minutes into the call that your camera has been off, or that you’ve been muted.
In more dedicated video conferencing options, a good way to test the quality of your video settings is to make a call to someone in your office – especially if you plan to communicate with a client and want to first make sure that your final video product isn’t grainy for any reason. Camera quality does ultimately affect final picture quality – if you feel like you’re unclear during conference calls, check first to see what you look like through your webcam regardless of whether you’re being streamed over the Internet.
- Check your lighting
The second most handy to do tip before starting a video call is to make sure that your lighting is set up properly. Lighting is the easiest fix in the world – a bit off, and you can drastically reduce a call’s quality, but with a little flip of a switch or open window blinds, you can turn the so-so video quality for a video conference camera for IT into a much better quality call, especially with a top-of-the-line service like BlueJeans.
The key is typically natural light. Unless you’re calling at night or in what would be dungeon-esque lighting circumstances, you should have access to a large window in your office. Try as best you can to either position yourself in front of the window, or to its side, so you’re illuminated by the natural light as much as possible.
Under all circumstances, avoid sitting in front of a light source when doing a video call. A light from behind will simply force you to become silhouetted against the camera. Instead, keep it relatively lit but not bright behind you, and focus your lighting efforts on you. If you have the money to buy a professional reflector, setting it up above you angled slightly towards you can further enhance the quality of your lighting throughout the day.
- Position your camera correctly.
Little else poses an issue for your call’s quality than the way your camera is positioned. A badly-positioned camera can either give your clients an unflattering angle of your face, or alternatively, create a warped image of you.
Remember these rules, and remember them well: keep your camera eye level, focus on looking into the camera when you speak, focus on the call (and not something else) for the entire duration of the call, and finally, you have to consider some basic proximity rules. While the camera should be eye level and parallel to the ground, there are still a couple body language tweaks to be made. Lean back just slightly – as per The Muse, if you’re leaning in too much you can seem invasive, or even bossy.
Camera Troubleshooting 101
If you’ve done all of the above and are still running into a few issues, chances are your problems are of a slightly more complicated technical milieu. Check all your connections if things go wrong – make sure your TV or monitor is properly connected, make sure your camera is hooked up to the video conferencing system or computer, and ensure that your video settings are choosing all the right devices.
Once that’s been checked, if you’re still having problems, restart the system. It may be that any changes you’ve previously made are yet to have properly initialized. If you’re still running into issues it may be a hardware problem, so have your cables checked and have backups if possible.


